Making Cheese
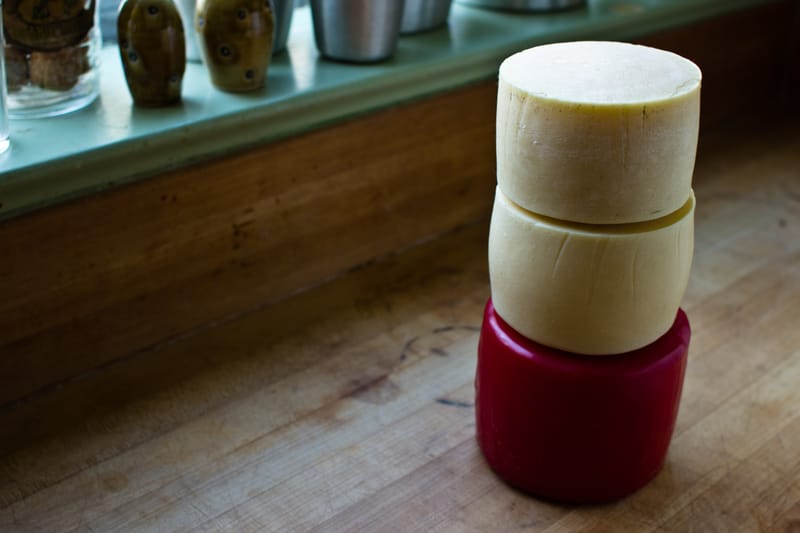
I’ve been making cheese a bit lately, and that’s somewhat interesting I think, so I decided to dust off the ol’ blog and camera for proper documentation and dissemination. You can find more photos of the actual making of these cheeses at my cheesemaking photoset on Flickr, and I promise to be more proactive next time I spend a Sunday in the kitchen, stirring curds.
First off, why the heck did I start making cheese at home? Who knows. I like to make things that have to age for years before I can eat or drink them, and I enjoy making foods that involve bacteria, fungi, or yeasts. I’m sure some of my interest was also stimulated by the summer I spent milking goats (check the scrollback for more on that). Any way you slice it, for some reason I bought a book called Home Cheesemaking by Ricki Carroll, and I flipped through it really quick, and then it sat in the book pile next to my bed for about a year, slowly creeping its way towards the floor as other books became a higher priority.
I finally dusted it off this January and decided to make cheddar, and thus began three straight weekends of kitchen toil. I bought some rennet and cultures from Ricki Carroll’s site (this reminds me, I did try making cheese a few years ago, using grocery store rennet, but it turned out pretty terrible, so I guess I purged it from memory). I then made a special trip to the public market, hoping to get some good milk from the Ithaca dairy guy that usually attends, but alas, he was not there. I was more successful at the hippy food co-op, where I believe they carry the very same milk.
That was a Saturday morning. I then spent the rest of the day mentally preparing by reading and rereading the recipe (no, really (I do this a lot)), and gathering the equipment I’d need to perform this feat. The next day was a long day of cleaning the kitchen, cleaning it more, cleaning utensils and pots and pans, and then the precise heating of milk, along with additions of cultures and rennet and lots of waiting for said items to do their magic. I probably spent six or eight hours creating the cheddar. The other cheeses were easier and quicker. Again, next time I’ll document better and give you a bit more of a step by step.
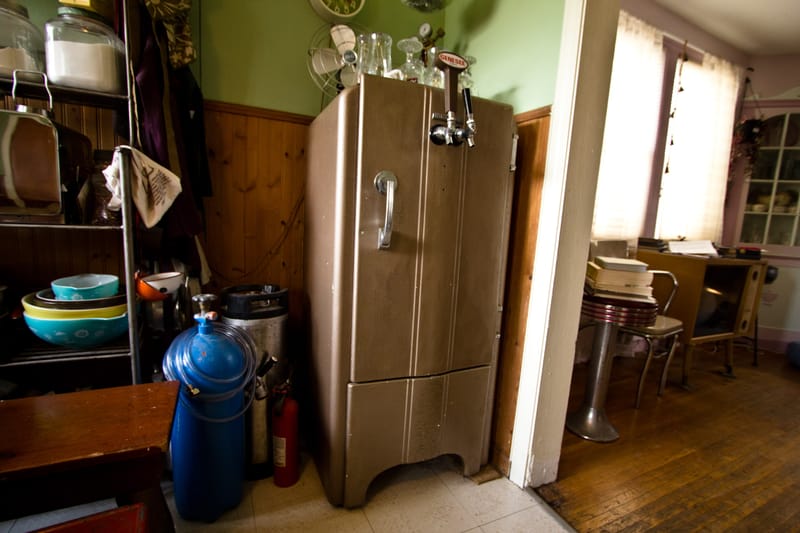
So that’s the thousand foot overview. The next weekend I made parmesan. And after that, romano. I needed a place to age these. Above, you’ll see my kegerator, which was a free find on craigslist (woohoo!). Since I don’t make beer often enough anymore, the kegerator has turned into a trusty cheeserator (ahem: “cheese cave”), providing roughly the right environment for turning new cheese into old cheese.
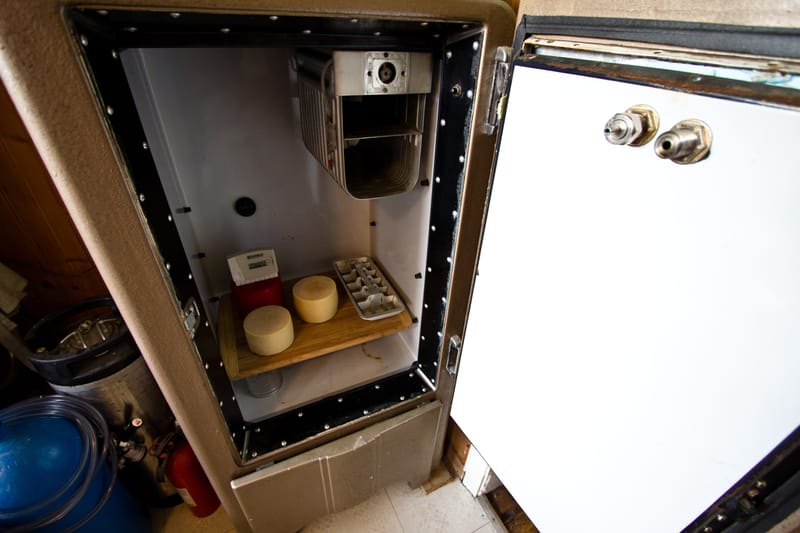
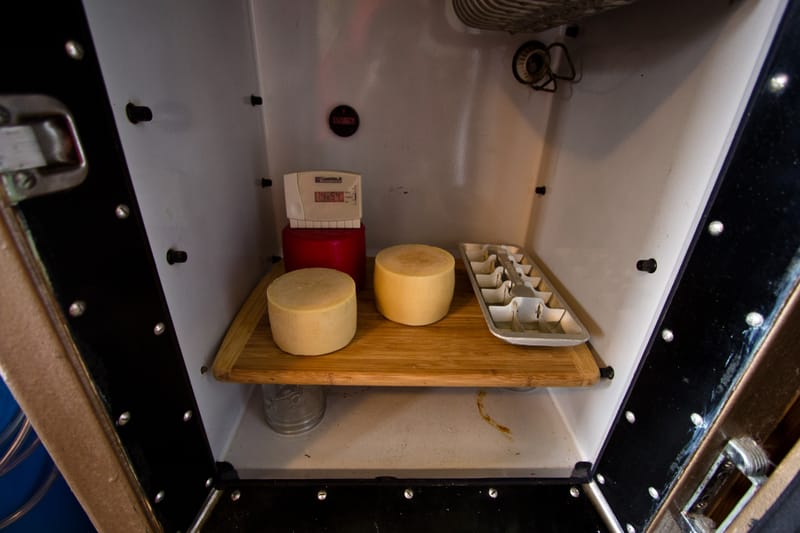
With any luck, I’ll need more shelves in there soon, but for a quick retrofit it works pretty well. That’s a cutting board resting on top of some canning jars to keep it out of any moisture that might collect on the floor of the fridge. The thermostat on the fridge didn’t mind going up to fifty-five degrees, so I thankfully didn’t need to go get an external temperature controller ($). The humidity seems to want to be at 75% or so (that’d make a good humidor, I hear), so a pan of water or two does a good job of bringing it up to the 80–85% that I’m looking for. I’ve been running it a little dry lately to keep the mold at bay, but in doing so I’m risking some cracking of the cheeses.
Some day I’ll wire up a hygrometer and humidifier with some overengineered elctronics for more precise control over this particular variable. In the meantime, I’ll reflect upon some frequent advice from the homebrewing world: “relax, don’t worry, and have a homebrew”. I’m sure it’ll all work out.
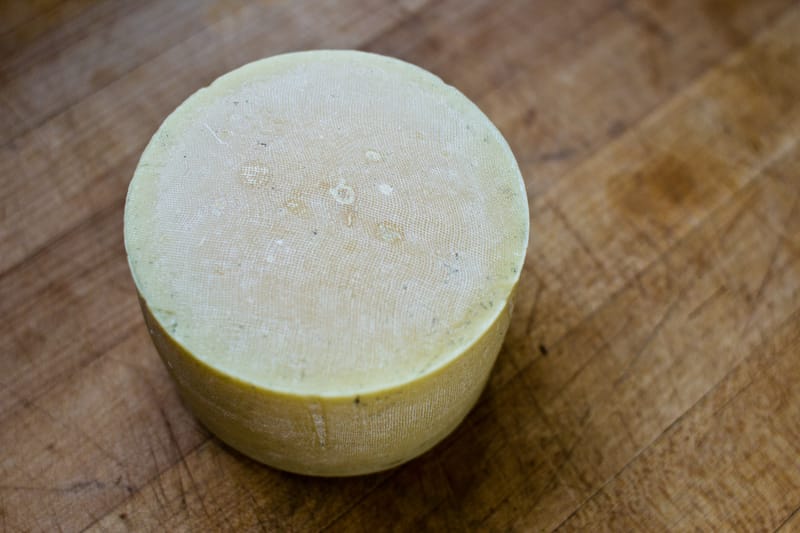
This is the parmesan, cheese #2. It’s about one and a half pounds, and two months old. In a few weeks, I’ll probably rub it with olive oil to keep the rind from cracking, or I might bag it up and vacuum seal it. I haven’t decided yet. I do like the idea of natural rinds, full of texture and mold and “character”.
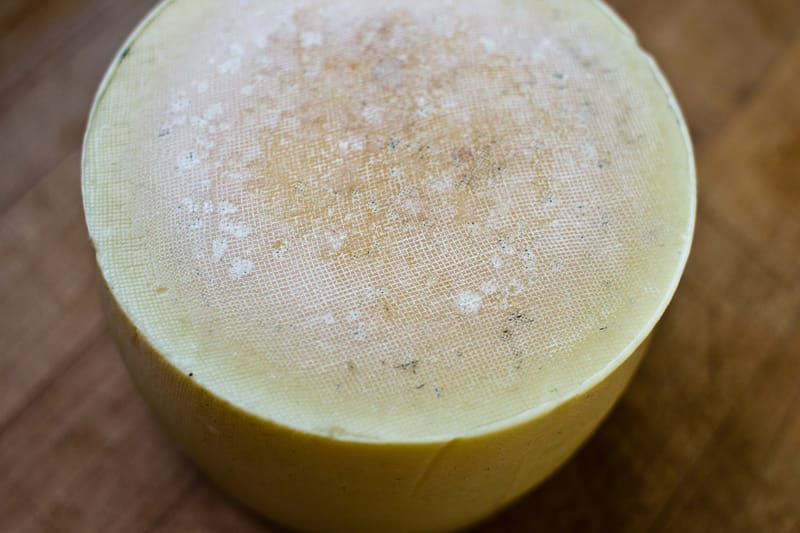
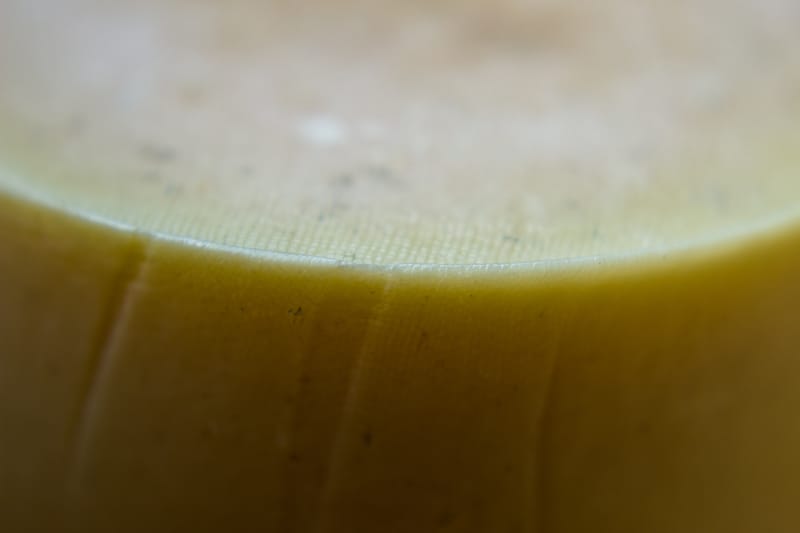
Romano! It had a bit more yield than the parmesan, probably two pounds. Of course it’s also softer/wetter, so I’m sure most of that is water weight. It’s drying and aging nicely. I could probably slice it up and eat it soft in a few months, but I’m planning to dry it right out for a nice grating cheese.
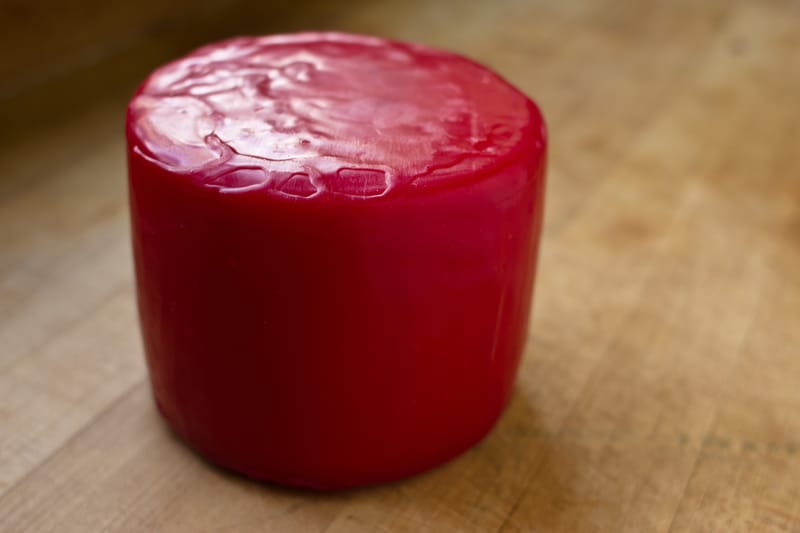
And here’s the first cheese I made… good ol’ cheddar (obviously this one has been waxed, next time I may try a natural rind of some sort). There are many ways to take shortcuts making cheddar. They all involve trying to avoid the two or three hour process of cheddaring, which basically consists of holding slabs of curd at a specific temperature while they expel whey and acidify. The curds require some tending during the process, so it definitely made for a long day in the kitchen. But, I wanted to try the “real” way at least once.
So now I continue to wait for these cheeses to age. They’ll all be tasty around a year from now, but I might slip up and sample them a bit earlier. I guess that depends on if I get down to making some fresher, less aged cheeses to tide me over in the meantime. For obvious reasons, I’ve been searching around for a good bucheron cheese recipe for a while now. Bucheron is a ripened goat cheese. Basically a chevre with a bloomy (white mold) rind that you age for four weeks or so. It’s really really tasty (I’m so glad my namesake cheese is so yummy!). I finally found a recipe for it in the second cheese book I bought, Artisan Cheesemaking at Home. There’s actually lots of neat and creative recipes in there… cheeses you’ll not be finding in the grocery store any time soon, so stay tuned for updates on those (and if you’re in Rochester, or on my Christmas list, maybe you’ll even get to taste some)!